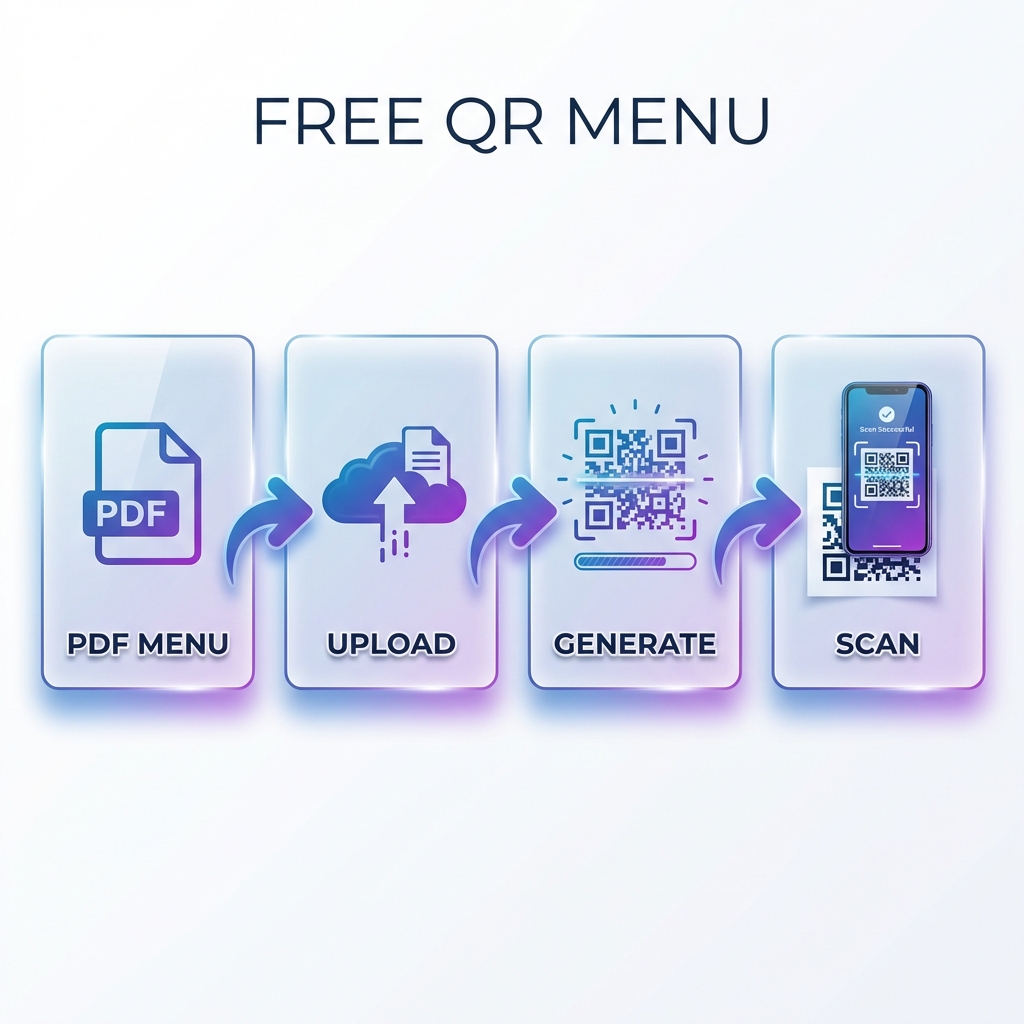
Why Restaurants Are Ditching Paper Menus
A printed laminated menu costs $3-$8 per copy to produce, requires a 3-5 day print turnaround, and becomes outdated the moment you change a price or run out of an item. For a 30-table restaurant with 4 menus per table, you are looking at $360-$960 per reprint cycle.
A QR code menu costs nothing after the first 30 minutes of setup. When a dish sells out or a price changes, you update the file and every single table shows the new menu immediately - without touching a single piece of physical print.
Despite what paid "QR Menu" services want you to believe, you do not need a $20-$50/month subscription to achieve this. This guide shows the fully free method used by independent restaurants worldwide.
The Four Real Benefits of a QR Code Menu
- Instant price and item updates: Remove a dish that ran out, update a price for happy hour, add a daily special - all in under 60 seconds, with no printing delay.
- Hygiene and liability: Post-pandemic diners are more aware of shared surface contact. QR menus eliminate a frequently touched shared object from your service flow entirely.
- Richer content: A PDF or webpage menu can include full-colour food photography, allergen filtering, and video content - none of which fits on a paper menu.
- Language flexibility: Link to a bilingual PDF or a webpage with a language toggle. One QR code can serve customers who speak different languages without printing multiple menu versions.
Step 1: Create Your Menu File
You have two routes depending on how frequently you update your menu.
Option A - PDF (Best for static or infrequent menus)
A PDF menu is the simplest approach. Create it in any of the following:
- Canva (free): Search "restaurant menu" and choose a template. Export as PDF.
- Google Docs or Word: Type your menu, add a logo header, and save as PDF.
- Adobe Express (free tier): Professional templates with brand colour matching.
Design tips for phone screens: Use a minimum 14pt body font. Organise items into clear sections with headings. Avoid dense text blocks - white space reads better on a 6-inch screen than on a printed A4 page.
Option B - Webpage (Best for daily specials or allergen information)
If you already have a website (Squarespace, Wix, WordPress), create a dedicated /menu page. This gives you the most flexibility: dynamic content, photo galleries, and customer reviews are all possible. The QR code links to this URL permanently.
Step 2: Host Your Menu Online
The QR code you generate here is static - the destination URL is permanently baked into the code pattern. You need a stable, permanent URL for your file. Do not use a URL that changes when you re-upload the file.
Google Drive (Recommended for non-tech users)
- Upload your PDF to Google Drive.
- Right-click the file → Share → change access to "Anyone with the link - Viewer".
- Click Copy link. This is a permanent URL that does not change.
To update the menu without changing the URL: Right-click the file in Drive → Manage versions → Upload new version. Google keeps the same File ID (and therefore the same URL) regardless of how many times you update the file.
Your Restaurant Website
Upload your PDF to your media library and copy the direct URL. Always name the file consistently - e.g. menu.pdf - and overwrite the existing file when updating. The URL stays constant, so the QR code remains valid forever.
Dropbox or OneDrive
Both services generate shareable links that persist across file updates. For Dropbox, change ?dl=0 to ?dl=1 at the end of the share link to open the PDF directly rather than the Dropbox preview page.
Step 3: Generate Your Restaurant QR Code
- Open our free URL QR Code Generator.
- Paste your permanent Google Drive or website link into the URL field.
- (Optional) Upload your restaurant logo to embed in the centre of the code. Choose high error correction (H level) when adding a logo - this allows the code to survive up to 30% coverage.
- Match your brand colours if desired: set the module colour to your restaurant's primary colour on a white or very light background.
- Download as SVG for all printed materials (table tents, window stickers, posters). Use PNG only for digital use (email, social media posts).
Read our QR code print size guide to determine the correct dimensions for your specific placement.
Step 4: Where to Place QR Codes in Your Restaurant
- Table tents (most effective): A folded card standing upright on each table is the clearest signal to dine-in customers. Print the menu QR code on one side and your WiFi QR code on the other - two problems solved with one card.
- Window cling or door decal: Visible from outside during closed hours. Customers can check the menu before deciding to return when you open. Also works as a takeaway order link.
- Receipt footer: Add a small code and the text "Scan to view our full menu and current specials" on printed receipts. Encourages repeat visits.
- Online ordering counter sign: For counter-service restaurants, a QR code pointing to your online ordering page removes a menu from your workflow entirely.
- Packaging: Add to takeaway bags, boxes, and cups. Links to your full menu encourages upselling on future visits.
Common Mistakes and How to Avoid Them
- Linking to a Google Drive preview that requires sign-in: Always verify the sharing setting is "Anyone with the link" before going live. Open the URL in an incognito browser tab as a test.
- Printing the QR code too small: Table tent QR codes should be a minimum of 4cm × 4cm - larger is better. Scan your printed copy from the expected viewing distance before committing to a full print run.
- Using a JPG instead of SVG for print: A JPG printed at table-tent size will often look blurry and fail to scan on low-resolution prints. Always use SVG for physical printing. See our SVG vs PNG guide for details.
- Not testing on both iPhone and Android: The native camera apps handle QR code scanning slightly differently. Test on both before deploying across all tables.
Cost Comparison: Paper vs QR Code Menu
| Factor | Laminated Paper Menu | Free QR Code Menu |
|---|---|---|
| Initial cost (30 tables, 4 menus each) | $360-$960 | $0 |
| Cost per menu update | $360-$960 per reprint | $0 (file replace) |
| Time to update | 3-5 days (print lead time) | Under 60 seconds |
| Languages supported | 1 per print run | Unlimited (separate PDF links) |
| Food photography | Limited by print DPI and space | Unlimited full-resolution images |
| Allergen detail | Small print footnote | Full dedicated section |
Adding a WiFi QR Code to the Same Table Tent
The most common question customers ask restaurant staff is: "What's the WiFi password?" A WiFi QR code on the back of your menu table tent eliminates this entirely. Guests scan and connect - no staff interruption required. See our WiFi QR code guide for setup instructions.
Ask for Google Reviews While You're at It
The moment after a satisfying meal is the highest-value window for a review request. Add a second QR code to the bottom of your table tent pointing to your Google review link. A laminated card that says "Enjoyed your meal? Scan here to leave us a review" converts at a significantly higher rate than email follow-ups. Read our complete guide to QR codes for Google Reviews.